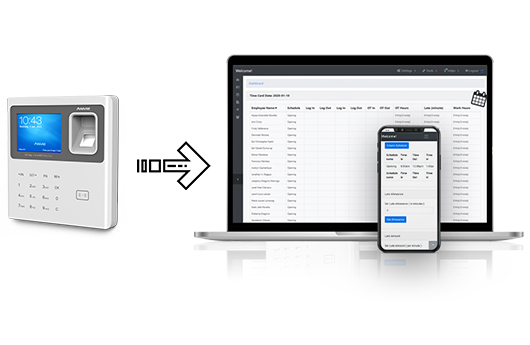
Connecting Biometric Device To PayMaster
User Guide
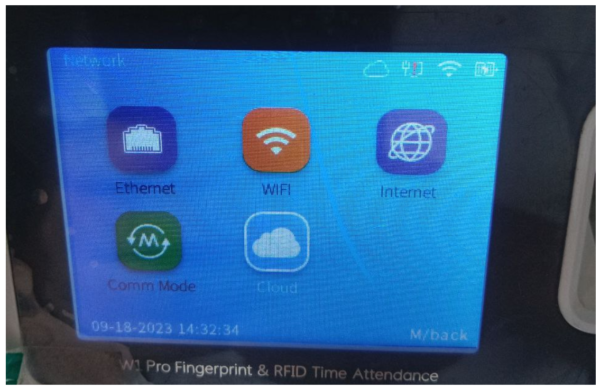
How to Connect
1. To connect to an available internet connection, go to Menu >> Network Settings >> WiFi.
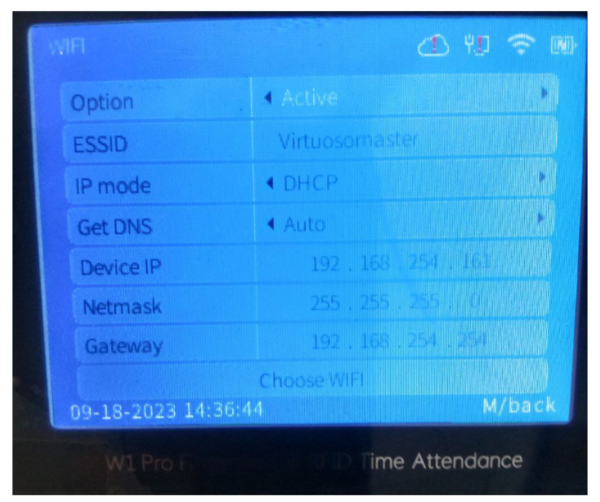
2. Select the available connection and ensure the device is online. The DNS setting is "Auto," and the IP mode is "DHCP."
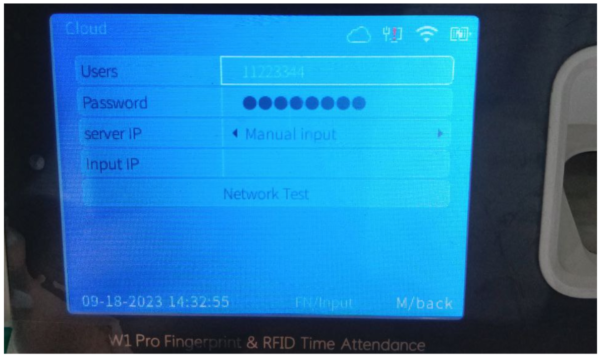
3. After connecting the device to the internet, navigate to Networking Settings >> Cloud and enter the following credentials:
Username: 11223344
Password: 11223344
Choose manual input for the server IP.
Input these on the “Input IP”: hs.pcms.me/device/server
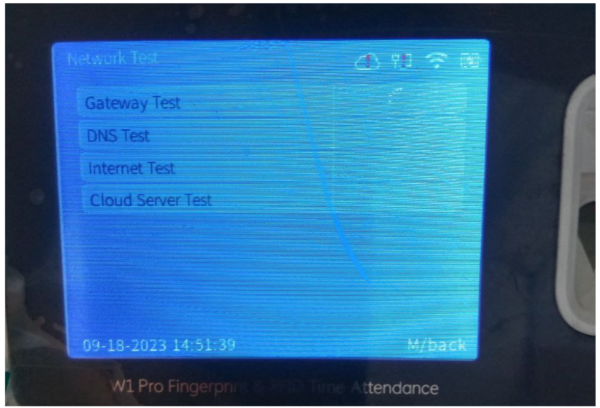
Then proceed to the network test.
Note: To enter letters into the field, press FN and then the numbers that correspond to the letters. For example, press 4 to display a list of letters (g h I G H I) and then press the number corresponding to the small or big letter.
4. Ensure that the results are 100%, particularly for the Cloud Server test.
5. It is connected to the cloud once the results are 100%, and the cloud icon should not have an exclamation point "!”.
6. Please reach out to us if you encounter any issues.